Getting Started
When you log in to MocklyAPI for the first time, an organization and project will be automatically created for you. To create additional organizations, use the organization switcher and select the option to create a new one.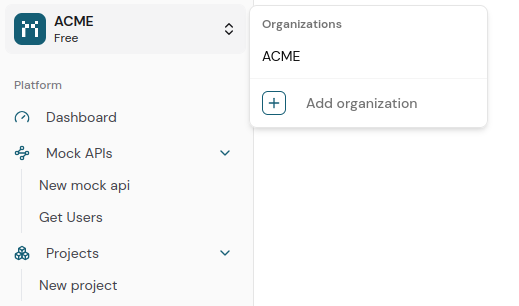
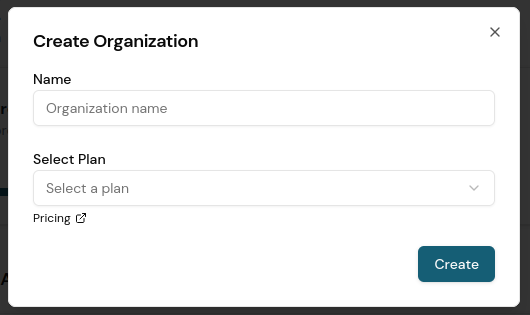
Billing is calculated on a per-organization basis. Each user is entitled to create and manage up to two organizations at no cost.
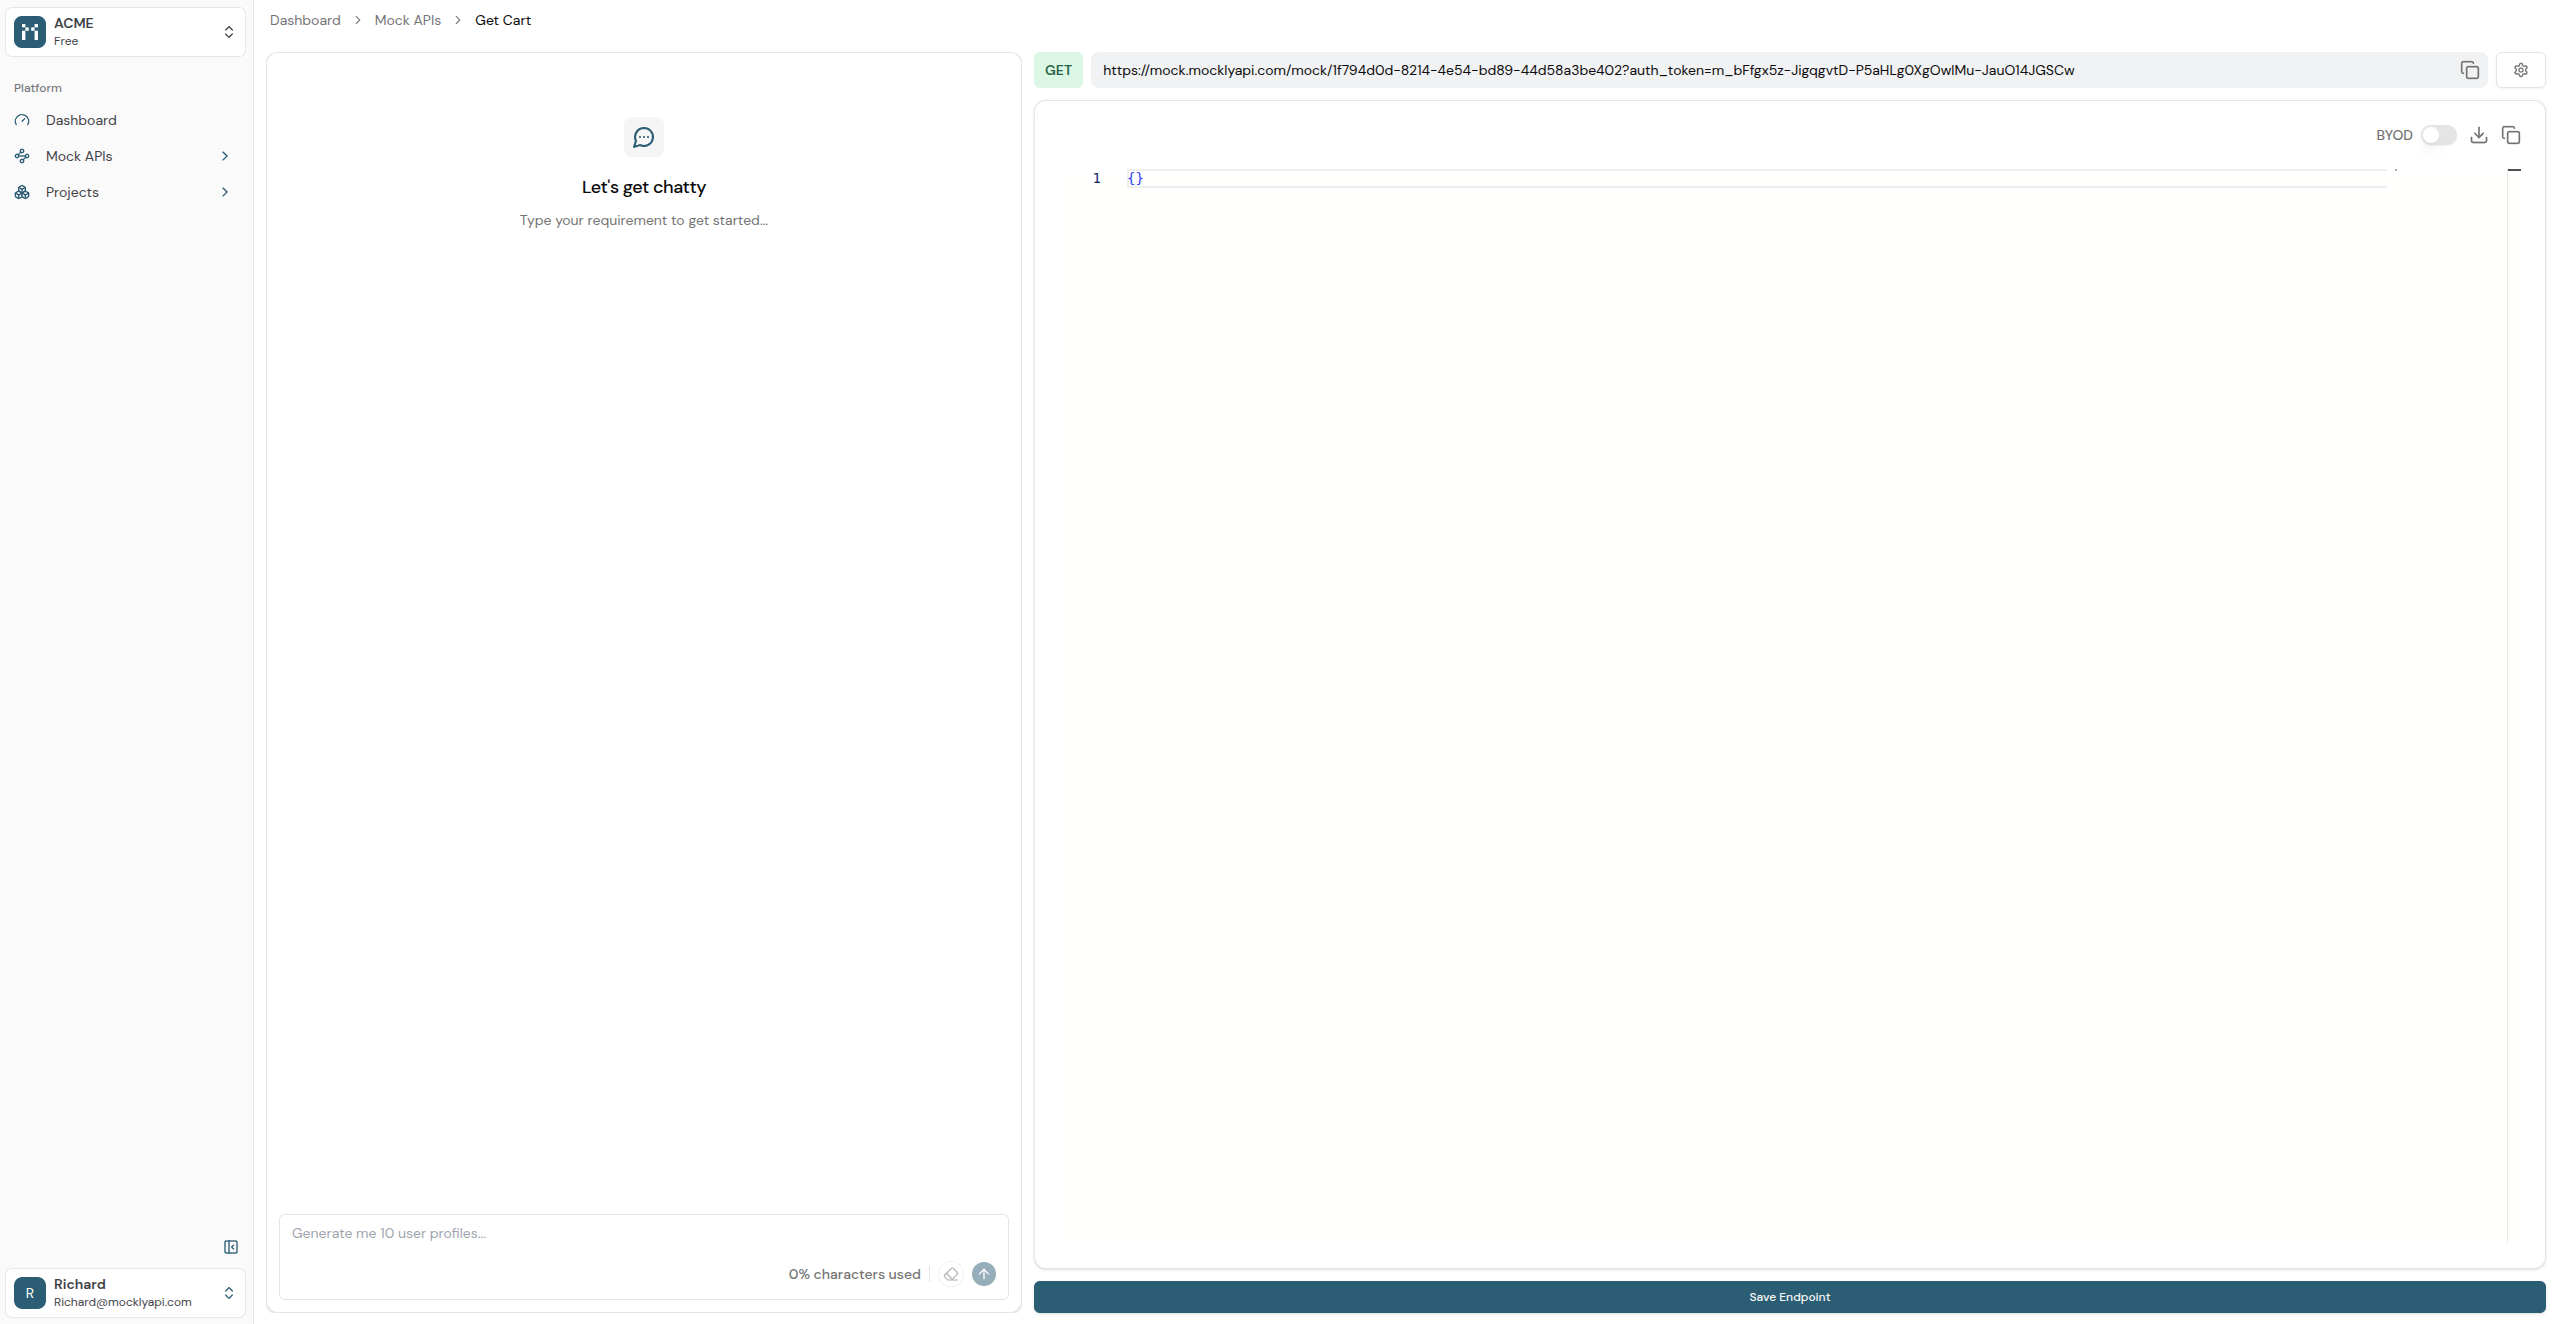
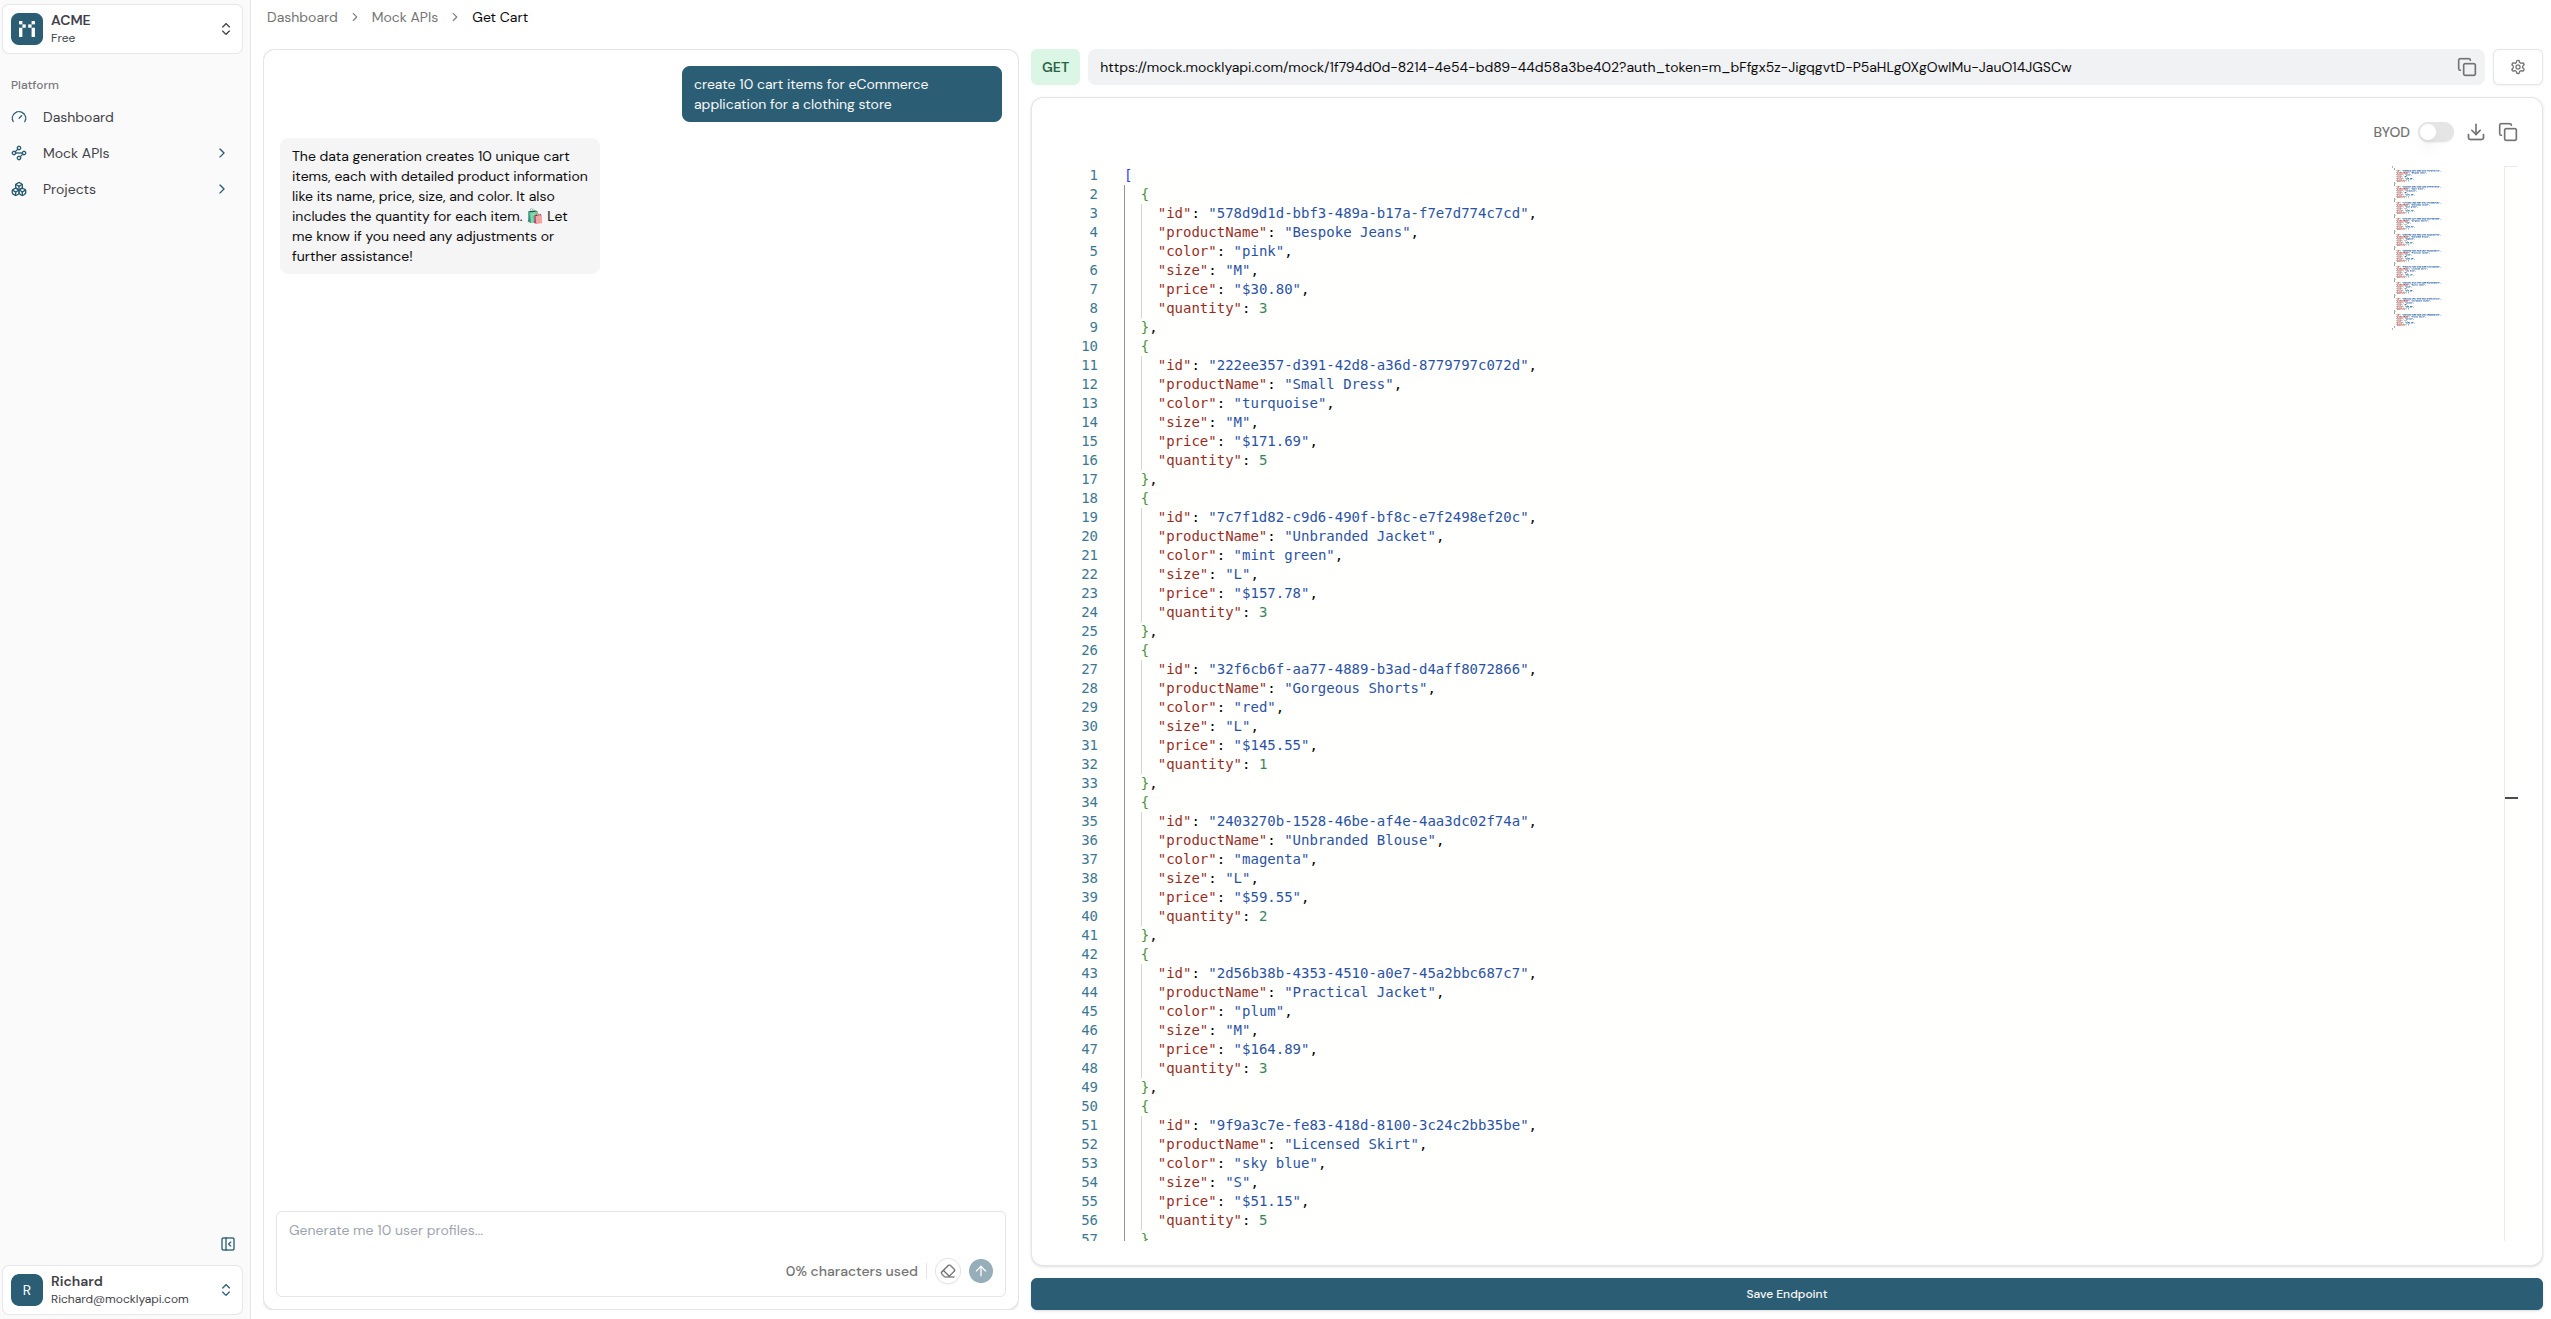
By default, endpoints are private and require an authentication token via query parameters to prevent unauthorized access. You can make them public through the settings if necessary.

Next Steps
With your first mock API up and running, explore these key features:Bring Your Own Data (BYOD)
Seamlessly upload and utilize your existing datasets within MocklyAPI.
Private Endpoints
Secure your mock APIs with private endpoints and authentication tokens.
Advanced Configurations
Customize response formats, latency, and other parameters for realistic simulations.
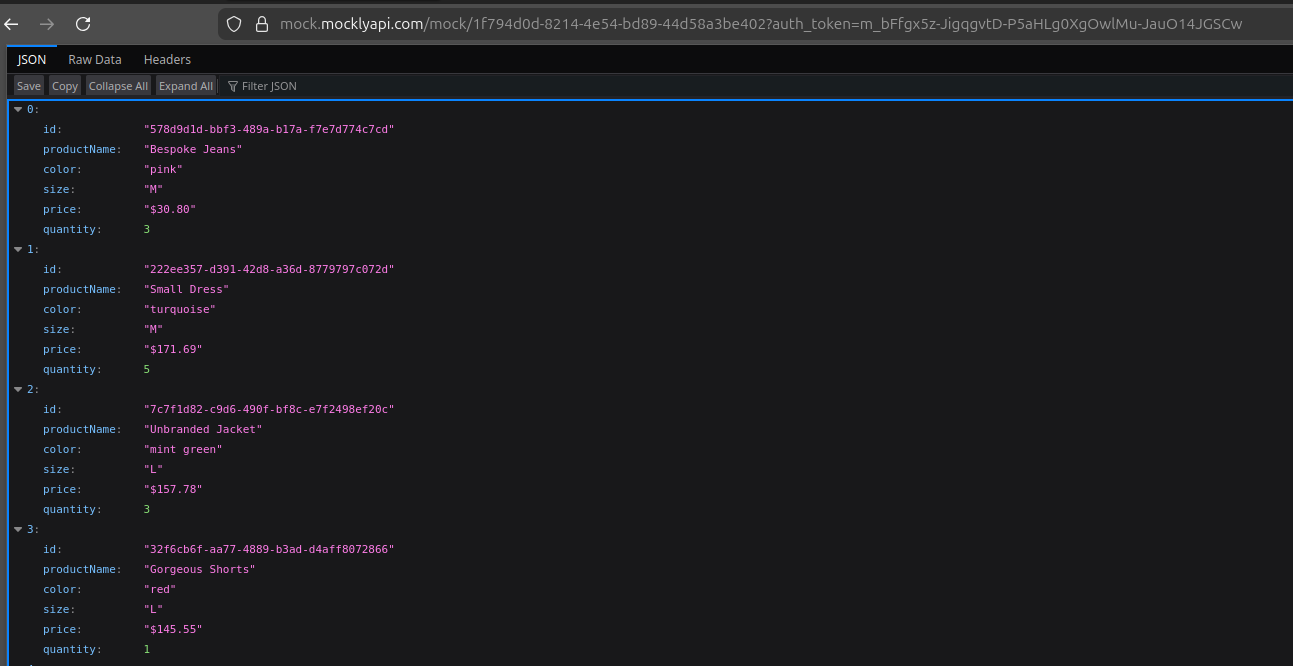
AI-Powered Data Generation
Instantly generate realistic, structured datasets using simple chat-based prompts.